If you’re a publishing content and building your brand on YouTube, learning how to create a vlog website is a smart next step. Whether you’re a podcaster, travel vlogger, lifestyle influencer, or tech reviewer – building on top of your own brand and platform can really help. While YouTube is fantastic for visibility and audience growth, it doesn’t give you full control over branding and monetization, and people are often leaving your content after just one video since there are so many other content creators out there. That’s where your own video/vlog website comes in.
Having a vlog website helps you centralize your all your video and podcast content, build an email list, and offer a better experience for followers. Plus, you’ll own your platform and audience.
In this post, we’ll take a closer look at the benefits of setting up a site for your YouTube videos. We’ll then show you how to create a vlog website with Beamly.com. Let’s dive right in!
Why Vloggers Need Their Own Website
With over 2 billion global users YouTube is clearly one of the leading video sites out there. It’s a great platform for video creators and podcasters alike. Many popular vloggers have built a huge following on their YouTube channels.
However, YouTube is not designed for personalization. Moreover, it doesn’t facilitate direct connection with your viewers beyond the algorithm.
As a vlogger, your personal brand is everything, and a custom video website gives you complete freedom to showcase your unique style and content.
With a vlog website, you’ll also have an opportunity to improve your visibility on Google by using relevant keywords in your content. For example, you might create a blog to dive deeper into the topics discussed in your videos.
A vlog website also opens up new revenue streams. You could sell merchandise, create paid memberships for exclusive content, and display ads.
You might even start an email list to share updates and other content with your followers. This provides another opportunity to make money, as you could promote affiliate products (or your own) with subscribers.
How to Build a Vlog Website Using Beamly (Step-by-Step)
Now, let’s look at how to create a vlog website, using Beamly.
Originally designed for podcasters, Beamly is a website builder that’s just as powerful for video creators and vloggers. It connects seamlessly with YouTube and lets you build a custom website for your YouTube channel that automatically imports your entire video library.
There’s no coding involved in setting up your vlog website. Beamly comes with a wealth of built-in tools, including ready-made templates and membership functionality.
So, here’s how to get started with this platform.
1. Sign Up for Beamly
First, you’ll want to go to Beamly.com and create an account. You’ll get a free trial, so you can test-drive all the features.
Once you’re logged in, click to create a new website and give it a name. You’ll also need to choose a theme, which will determine the look and feel of your vlog website. Don’t worry – you can always change it later if you’re not happy.
You’ll now have access to a user-friendly dashboard, where you can manage every aspect of your website:

For instance, you can navigate to Customize to edit the design. If you navigate to Site Settings, you’ll see an option to add a custom domain (available with paid plans only):

Here, you can also optimize your site for search engines by adding a tagline and meta descriptions. Feel free to explore the rest of the settings before moving on to the next step.
2. Connect Your YouTube Channel
Beamly makes it super easy to import your YouTube videos into your website. In your Beamly dashboard, navigate to the Video Channels section and click on Add channel:

A pop-up will appear, asking you to enter the URL of your YouTube channel or playlist. Add your link and click on Import Videos:

Once Beamly has finished importing your content, you’ll see your channel listed on the page:

If you click on it, you’ll find a list of all the imported videos:

Your feed will sync automatically. So, every video you publish on YouTube from now onwards will be added to your website. You won’t need to import it.
If you click on the Edit Channel button, you can enter some additional information, like a title and subtitle:

It’s a good idea to write a description for your channel, incorporating relevant keywords. Beamly also lets you add video channel participants and connect to your social media channels.

When you’re done, click on Save Changes.
3. Optimize and Organize Your Videos
If you tackle different topics or create different video types (interviews, Q&A, reviews, etc), it’s a good idea to organize your content by categories and tags. This will enable followers to browse your videos more easily and explore similar content.
So, navigate to a video and select the Edit option:

This will open the video in a user-friendly editor. Below the video, you’ll see the imported description. Go ahead and expand on it as you see fit:

On the right, you can edit the slug for the video (the part of the URL that describes the page), change the featured image, and write an excerpt for the video (which will appear in the video feeds).
You can even add participants to the video. This is a very handy feature if you often have guests on your show, or you run a podcast with other creators.
You’ll also see an option to add categories and tags. These taxonomies help you group videos by topic or type:

For example, you might use categories like “AI trends”, “Women in technology”, “Social issues”, and tags like “Guest interview”, “Funny”, or “Myth debunking”.
Remember to save your changes when you’re ready.
4. Add Videos to Your Pages
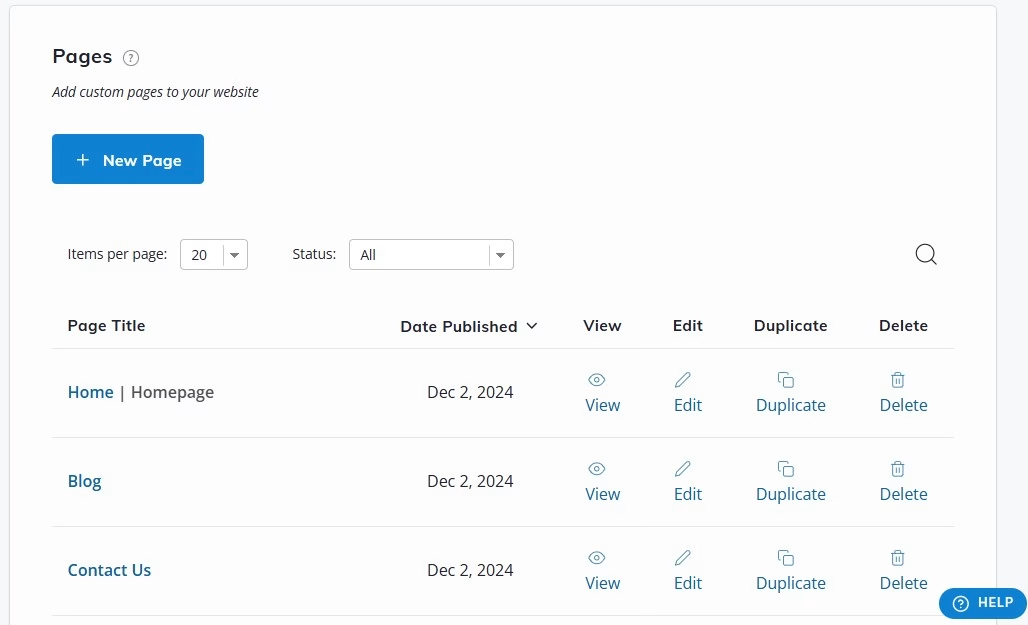
Now, it’s time to make your videos visible to site visitors. In your Beamly dashboard, go to Pages and click to edit an existing page or create a new one:
In the editor, look for the Videos element and add it to the page:

You’ll then see a feed with all your videos. Using the settings on the left, you can set a limit on the number of videos in the feed, sort videos by date or title, and more:

You can also customize the design of the feed by adding a background color, a border, player color, and other options:

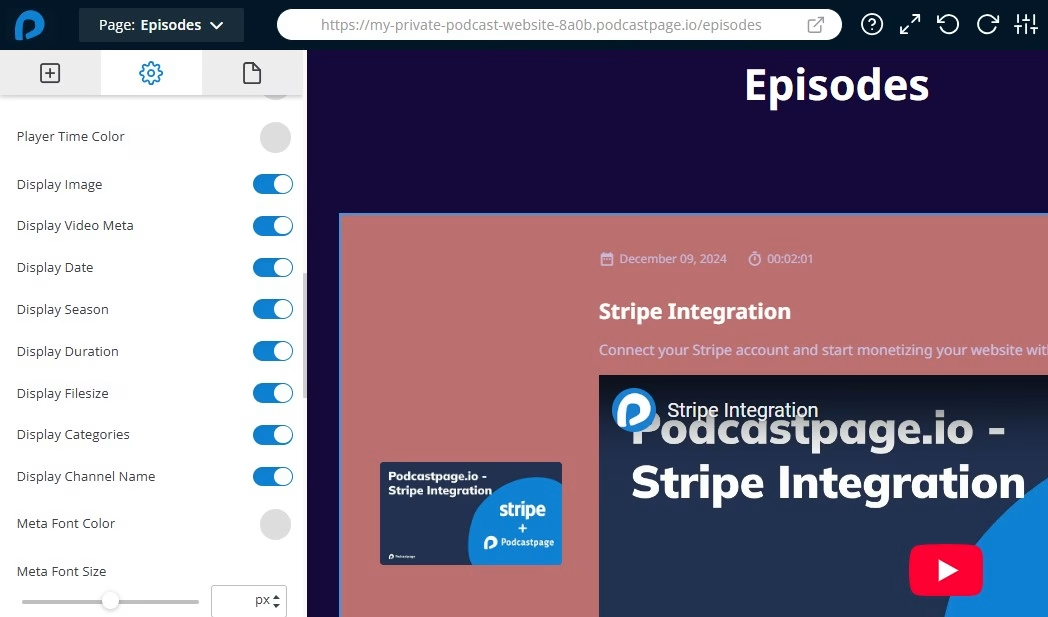
Beamly lets you select what information to display alongside your videos. This includes duration, date, categories, and more:
When you’re done, click on Update. Then, visit your new vlog website on the front end to make sure everything is working properly.
Conclusion
A vlog website helps you build a personal brand and monetize your content beyond YouTube ads. For example, you might sell merchandise, promote affiliate products, create paid memberships, and more.
With Beamly, you can easily import your YouTube videos into your website. All you need to do is enter your channel’s URL. You can then categorize your videos and add them to your pages.
Are you ready to create an amazing vlog website? Get started with Beamly today!